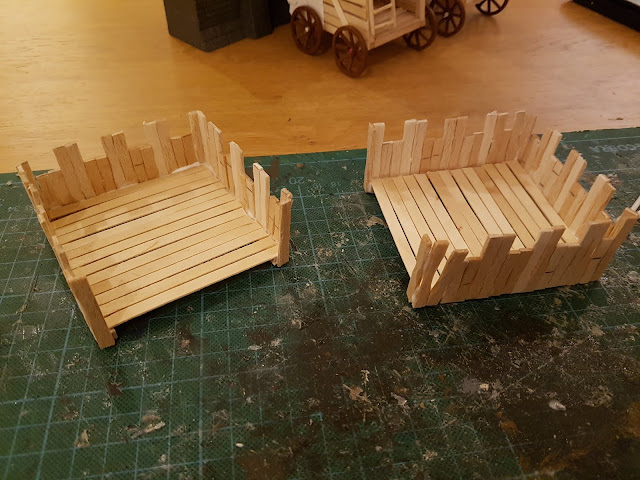
Now this project went rather faster then expected. I planned to be working on it over the course of a few weeks, but I seem to have finished it within three evenings (and a few lunch breaks and a bit of a Sunday afternoon). Lets start of with the result just prior to painting.
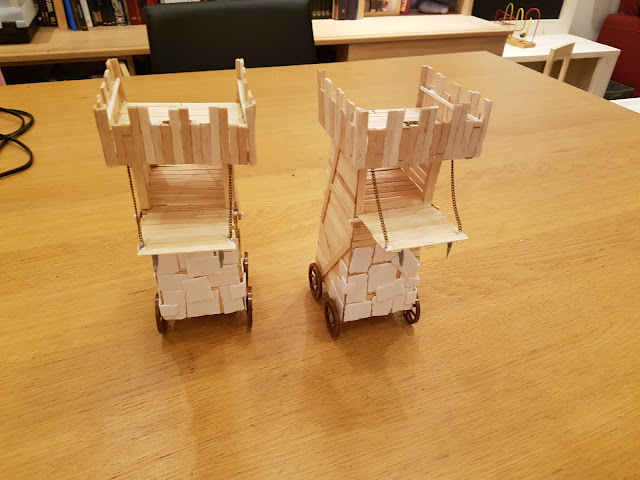 |
| "Where is the castle? Why didn't you stop when we passed that nice looking peasant to ask for directions?" |
And a view of the back, with a brave Kairic Acolyte on top for size purposes.
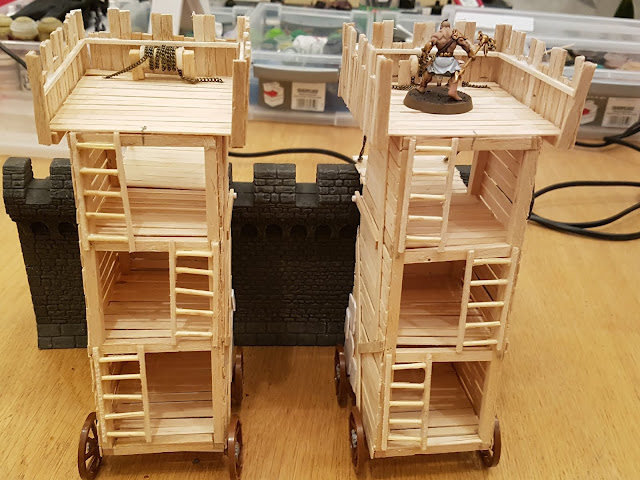 |
| Found me a wall to hop onto from my deluxe siege tower. |
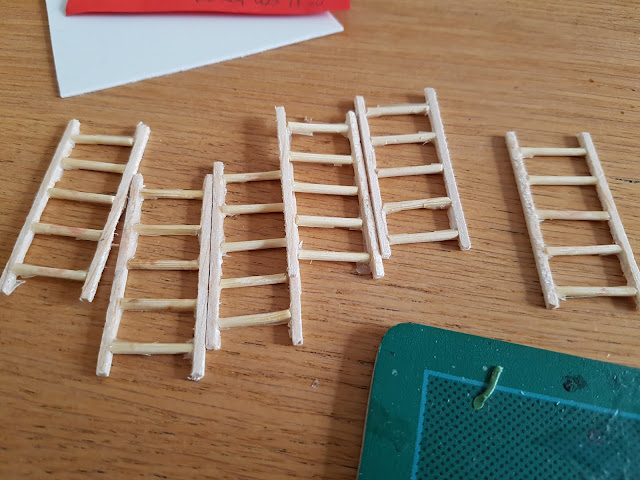
I started the finishing touches on the towers by taking the ladders of the masking tape. As you can see in the
previous post, these were rather messily covered in PVA.
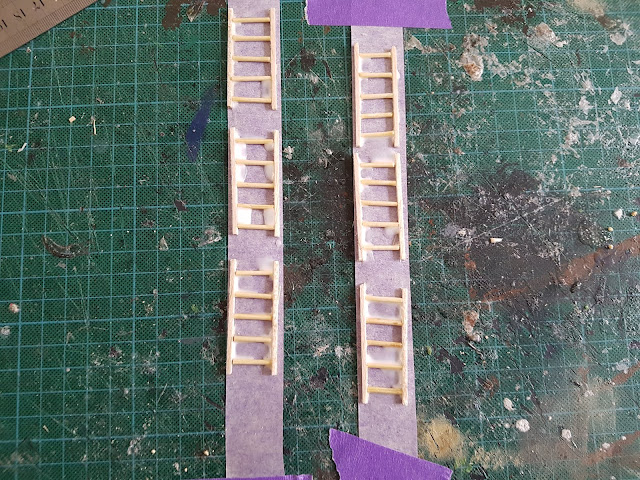 |
| Yes that was a lot of glue, but my parts were not cut to any decent measure of precision. |
This did not dry up in a neat way.
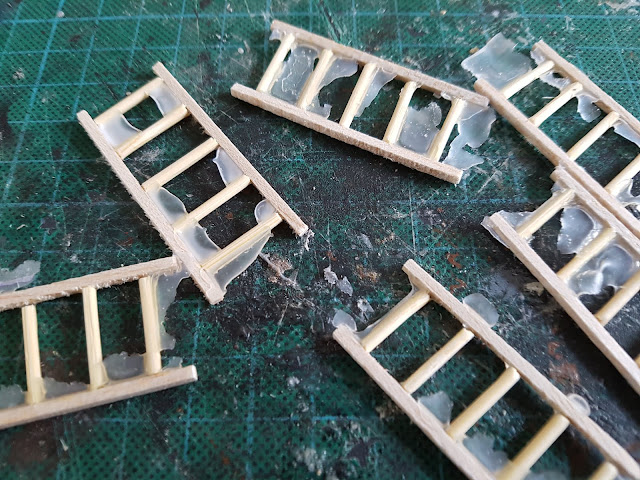 |
| (pun alert!) Looks like I have my work 'cut' out for me (har har har) |
So I replaced my scalpel blade and removed the excess glue (cutting myself in the process (blood for the blood god!)).
 |
| O think that looks good enough. |
These ladders do not really look up to scale with the models using them, but I think slightly oversized bits here and there fit with the 'heroic scale'. It gives a bit of attention to those parts that require it. (For about the same reason I don't really like models scaled with proper size hands and feet).
 |
| This embodies how much thought and planning went into this particular project. |
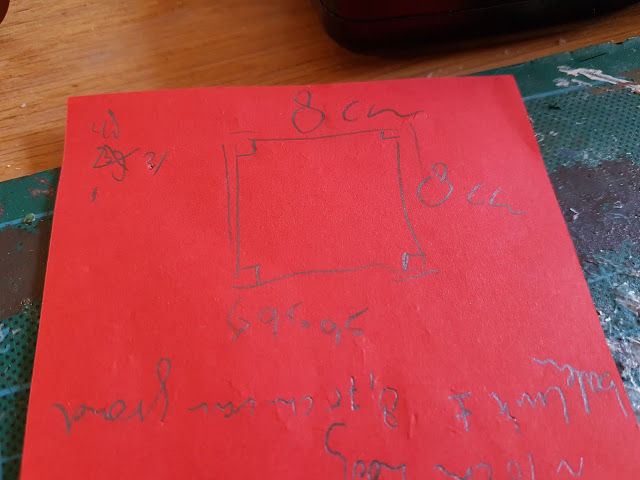
Next up were some hardcore calculations on my very thought out and precise construction diagram (cough cough).
 |
| "They said there would be a siege tower for us to use, this looks nothing like a siege tower! Are we supposed to carry this platform to the wall and hope?" |
Using my cutting mat and some half-painted Kairic Acolytes as a reference I cut the top platforms to fit five models on 32mm bases in reasonable comfort. The mat has has 1cm x 1cm squares on it and I determined five acolytes fit in between an 8cm x 8cm rectangle (3.14 inches squared for you non-metric system types). The top of the tower is 6cm x 6 cm and the top platform needs to stick out on three sides, 8cm x 8cm will probably look good. Next up I made the basic square foundation for the top and tried the measurment again. Yes seems to work.
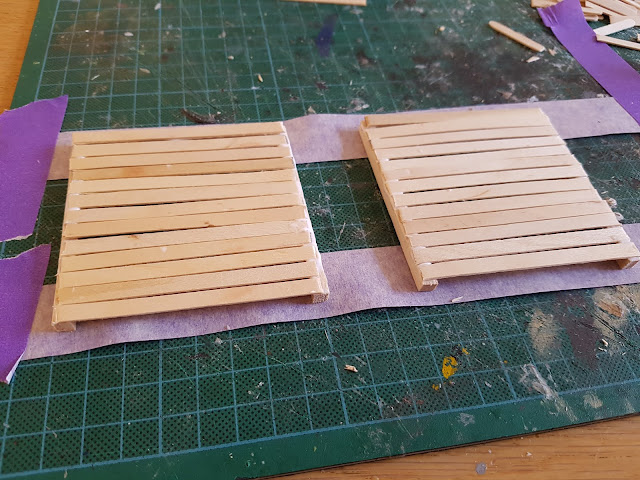 |
| My recipe to fix stuff in place before applying copious amounts of glue: masking tape. |
I fixed the platforms on some masking tape and glued in the wooden floors using coffee stirrers. As that had to dry I started working on the ramparts. I first used a bit of wood to determine how high these needed to be so my ancient models don't look like children (needing a crate to look over the low parts) and my new models don't look too exposed.
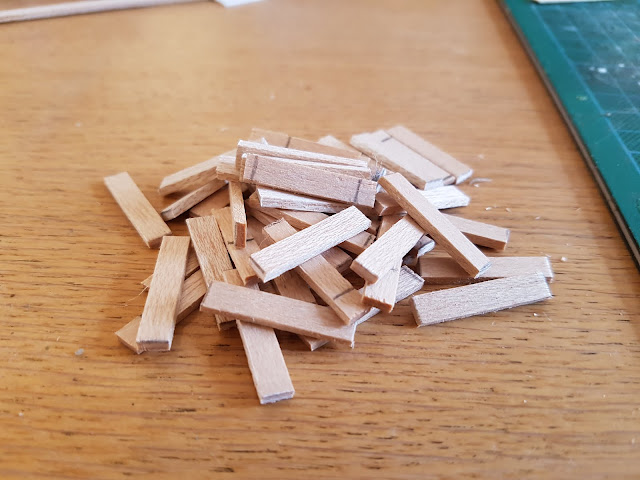 |
| Yeah that's a lot of planks, its also about a quarter of the amount of planks I require. |
I ended up deciding on 2.5 cm planks for the low ends and 3.5 cm planks for the high ends. I used 1mm x 5mm balsa planks for this as I want the top floor to look as if it's made from even sturdier wood. With this top bit it becomes very important to pre-weather the wooth by taking a scalpel to all sides of every bit (48* bits of 2.5 cm and 52 bits of 3.5 cm). I ended up with four woodpiles
*It turned out I only needed 44.
 |
| That's what 190 balsa wood planks look like after they've been individually weathered. |
And a lot of wood shavings. Time to clear up the work area!
 |
| And there are the wood shavings of 190 balsa wood planks. One day I'll think of a project to use wood shavings in and then I'll regret throwing them all out. |
As the work area was clear I could start gluing the wooden bits to the top floors.
 |
| The bottle propping up the floor is only there for photography purposes. Just hold these in your hands while applying the railings. |
Luckily I remembered that no wood was needed to do the back sides of the top floor. As it was I almost ran out of balsa planks and had to upend the shed looking for 'just a bit more'.
 |
| The top floors are ready to be installed on the towers. |
Next up was a final, but important, detail. The chains used for raising and lowering my (fixed) boarding ramps. I opted to drill holes in the tops of the towers, pulling a bit of chain from my bits bo through it.
 |
| Making holes and adding chain. |
Then I grabbed a very soft round bit of balsa wood (I think it was balsa) and cut two bits of. I put the plastic rings that come at the end of every tube of the cheap-ass brand superglue I use on these bits as end caps (and to make it look slightly more interesting).
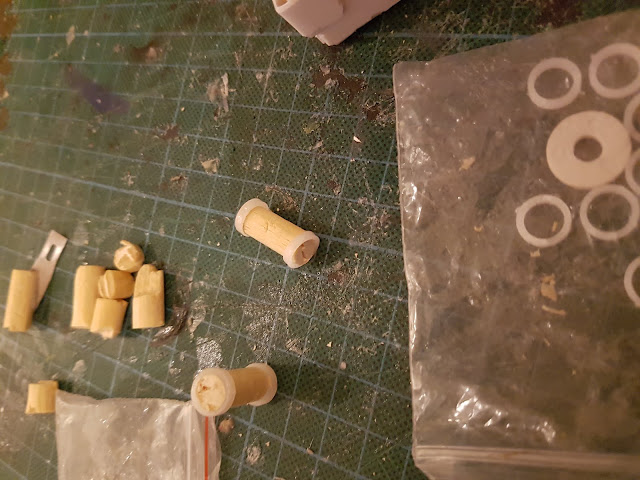 |
| Improvising something to make the chain look as if its really used in the miniature world. |
I added square sides from a few bits of spare wood and wrapped some chain around this, ending up with this mechanism. I think it looks nice, it could use a lever or something, but I think I'll pretend the lever is one floor down (and out of sight ;) ).
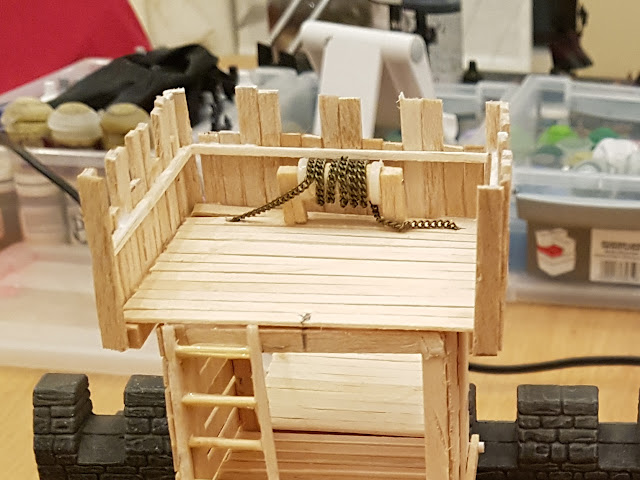 |
| I'm rather satisfied with how this looks. |
Next I found a few old shield decoration bits and used four identical ones (per set of four wheels) to mark the two towers by their hubcaps (so to speak).
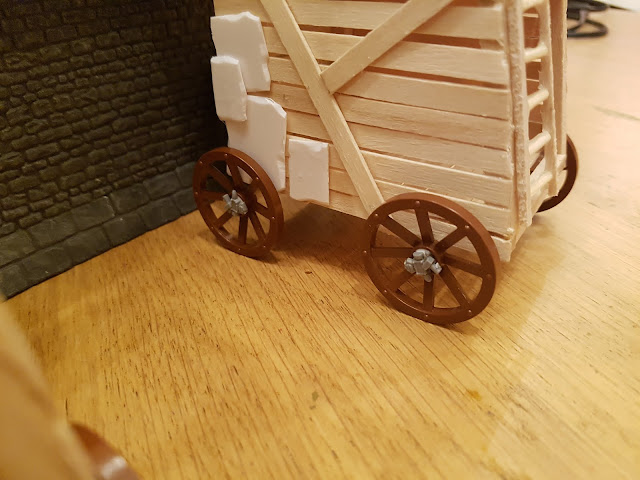 |
| (Using my Hollywood voice) "It was a time before light weight aluminum rims..." |
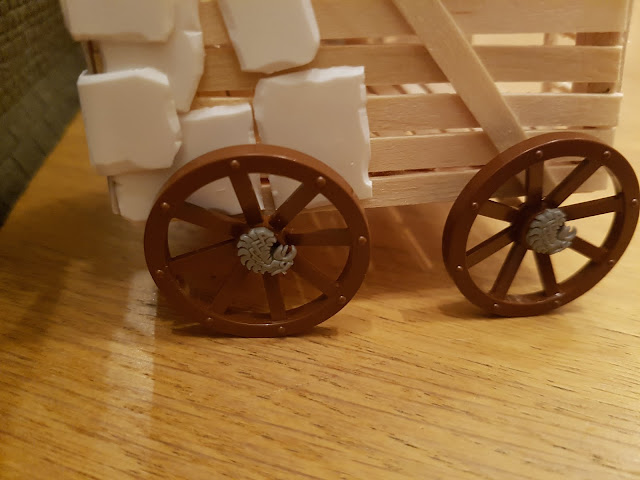 |
| "...it was a world where no wheel was safe!". |
And that is where I'm at after a few intense hobby evenings.
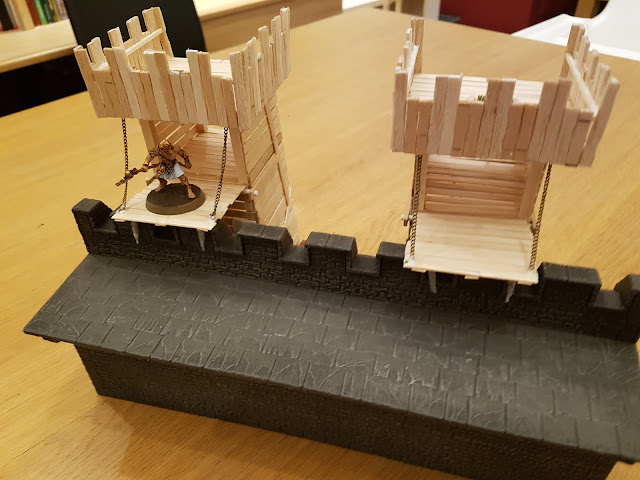 |
| "CHARGE! Wait, were are the others? *gulp*" |
 |
| Looking down on the wall, ready to kill some defenders. |
 |
| Braving the table (after the horrendous mess caused by scratch building was cleared). |
Next step: painting these (and start wondering about a battering ram).


No comments:
Post a Comment