One of the terrain sets I've been meaning to make is a badlands type with Monument Valley style cliffs. The fact that the first season of Westworld is awesome helped set me off on a polystyrene carving binge. I made my first test rock following along with the excellent tutorial by
Rob Hawkins Hobby blog. This one still needs a bit of flock, but as a concept it'll do.
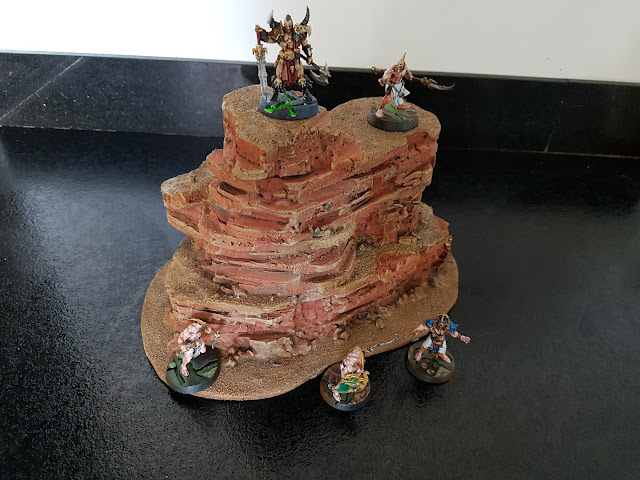 |
| Some nefarious Tzeentchy types seem to be lounging around on this cliff. |
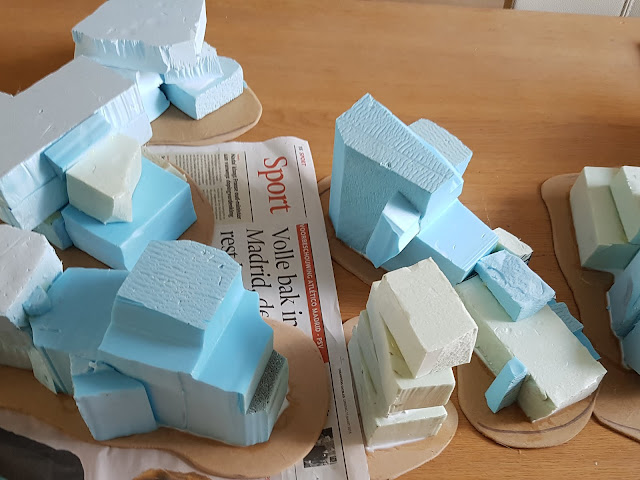
With the test piece completed it was time to escalate to make a full terrain set. Step one cutting up a number of 3mm MDF bases and sticking clunks of polystyrene on them. I diverted from Rob Hawkins tutorial because I had rather a lot of spare bits around that I wanted to use up.
 |
| Not pictured: exciting footage of carving and beveling MDF (see this post for some rambling on that). Also missing: footage of a hot glue gun, a PVA bottle and blocks of polystyrene. |
All in all it will be a nice set of cliffs to put on the table.
 |
| I feel the need to make even more cliffs, but knowing myself I should stop here (or the table will be too full to put actual models on it). |
After this it was time to break out the high-tech carving tools...
 |
| Noting but the best of the best here (*cough* *cough*) |
The most useful blade in this set is the breakaway blade of course (having a lot of spare blades helps when carving polystyrene. The potato peeler has a useful point for taking deeper bites out of the rocks but the blade has to be sharpened often (and I'm too lazy to do that while carving). The fork is used to get a good taste of the hills, wouldn't want to make tasteless terrain after all...ok it's used to rake over the terrain and rough it up.
 |
| Here's me crossing my fingers and hoping this will look like a cliff after paint is applied. |
After a bit of carving the rocks started shaping out reasonably nicely.
 |
| The fork really makes a damages mess of things. |
Luckily polystyrene makes no mess whatsoever...
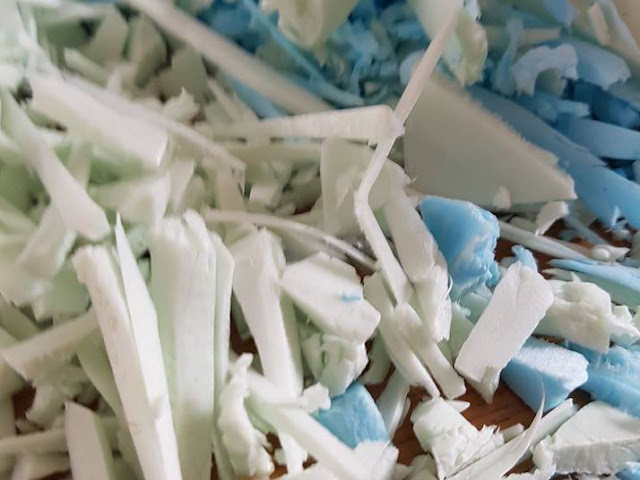 |
| Not featured:me sweeping the floor multiple times and still finding bits of polystyrene. |
The next step for me was to use instant filler to close up some gaps. I've been very sloppy in my gluing and the spare bits weren't a very smart idea after all (too many gaps). After the instant filler a layer of watered down PVA was added to give a bit of extra strength to it all. As I'm impatient and it is still rather cold around here the instant filler wasn't dry yet. That's ok, it just mixes with the PVA and covers the rocks a bit more. After all this is terrain, not rocket science.
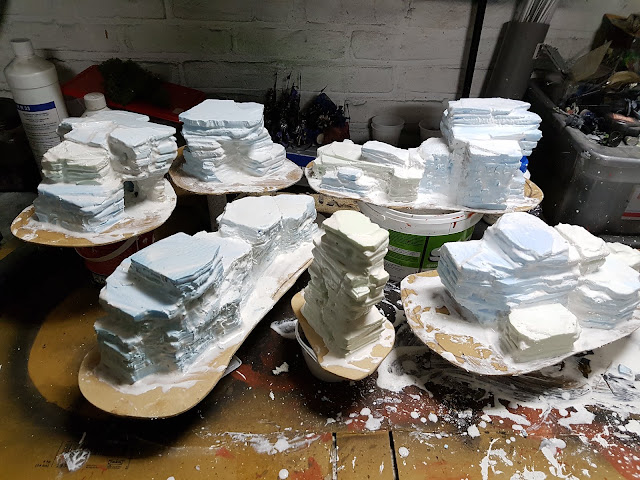 |
| The cliffs were moved out of the shed and into the house. It is still too cold outside for PVA and instant filler to dry properly. |
And here is the end result so far. The cliffs have been covered and arae standing on raised platforms (plastic cups, paint buckets, etc.) to dry. This is an old and easy trick to prevent PVA'd terrain from sticking to your table/old newspaper/other surface. Next step will involve me trying to be patient as the PVA and instant filler dries. Then it is on to sticking sand and stones to the terrain to give it a bit more character. I've also spotted/carved a very nice place to build an (obligatory) mine entrance on one of the rocks. In other words, I'm rather excited about this project. Now if only it would dry faster...


No comments:
Post a Comment